產品介紹
-
-
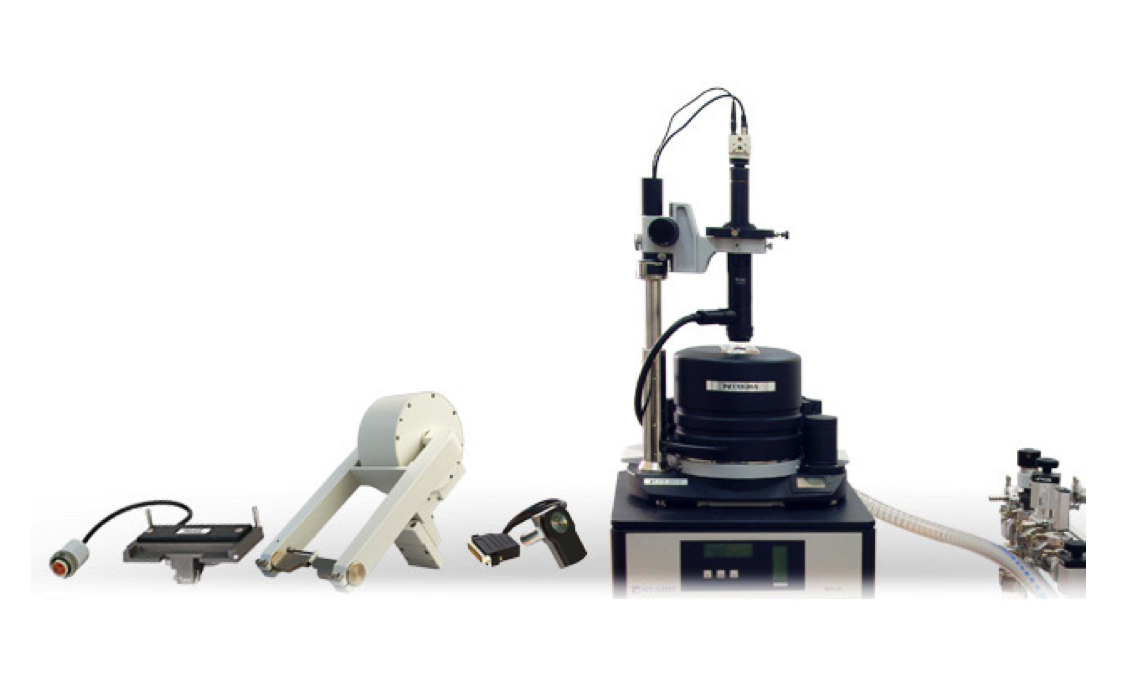
NTEGRA Aura
NTEGRA Aura is a Scanning Probe Microscope for studies in the conditions of controlled environment and low vacuum.
產品說明
The Q-factor of the cantilever in vacuum increases, thus gaining the sensitivity, reliability and accuracy of “probe-sample” light forces measurements. At that, the change from atmosphere pressure to 10-2 Torr vacuum provides the tenfold gain of Q-factor. By further vacuum pumping, Q-factor reaches its plateau and changes insignificantly. Thus, NTEGRA Aura presents the optimal “price/quality” ratio: comparing to the high-vacuum devices it needs much less time – only one minute - to get the vacuum that is needed for the tenfold Q-factor increase. At the same time the system is compact and easy to operate and maintain. As the NTEGRA platform product, NTEGRA Aura has built-in closed loop control for all the axes, optical system with 1 µm resolution and ability to work with more than 40 different AFM methods.
Due to the open architecture, the functionality of NTEGRA Aura can be widen essentially: specialized magnetic measurements with external magnetic field (horizontal, up to +/-0.2 T; vertical, up to +/-0.02 T), high-temperature experiments (heating up to 300 0С with temperature maintaining precision of 0.05 0С), etc.
產品應用
NTEGRA Aura allows to carry out the research of surface characteristics with nanometric resolution and near-surface physical fields of various objects that can be placed into vacuum.
Interesting results obtained by Prof. Olga Kazakova on the graphene under various environments are given on the site NPL, UK.
產品規格
Measuring modes and techniques
AFM (contact + intermittent contact)/ HybriDTM mode/ Lateral Force Microscopy / Force Modulation Microscopy / Magnetic Force Microscopy/ Electrostatic Force Microscopy / Scanning Capacitance Force Microscopy/ Kelvin Probe Force Microscopy / Piezoresponce Force Microscopy/ Spreading-Resistance Imaging / STM/ Nanosclerometry/ Lithography: AFM (Force + Current), STM
Technical data
| Scan type | Scanning by sample | Scanning by probe* | |
| Sample size | Up to 40 mm in diameter, up to 15 mm in height |
Up to 100 mm in diameter, up to 15 mm in height |
|
| Sample weight | Up to 100 g | Up to 300 g | |
| XY sample positiniong range | 5x5 mm | ||
| Positioning resolution | readable resolution - 5 um sensitivity - 2 um |
||
| Scan range | 100x100x10 um 3x3x2,6 um |
100x100x10 um 50x50x5 um |
|
| Up to 150x150x15 um**(DualScanTM mode) | |||
| Non linearity, XY (with closed loop sensors) |
|||
| Noise level, Z (RMS in bandwidth 1000 Hz) |
With sensors | 0.04 nm (typically), |
0.06 nm (typically), |
| Without sensors | 0.03 nm | 0.05 nm | |
| Noise level, XY*** (RMS in bandwidth 200 Hz) |
With sensors | 0.2 nm (typically), |
0.1 nm (typically), |
| Without sensors | 0.02 nm (XY 100 um), 0.001 nm (XY 3 um) |
0.01 nm | |
| Optical viewing system | Optical resolution | 1 um | 3 um |
| Field of view | 4.5-0.4 mm | 2.0-0.4 mm | |
| Continuous zoom | available | available | |
| Temperature control | Range | From RT to +150 oC | |
| Stability | ±0.005 oC (typically), |
||
| Vacuum system | Pressure | 10-2 Torr | |
| Vibration isolation | Active | 0.7-1000 Hz | |
| Passive | above 1 kHz | ||
* Scanning head can be configured to serve as a stand-alone device for specimens of unlimited sizes.
** Optionally can be expanded to 200x200x20 um.
*** Built-in capacitive sensors have extremely low noise and any area down to 50x50 nm can be scanned with closed-loop control.

